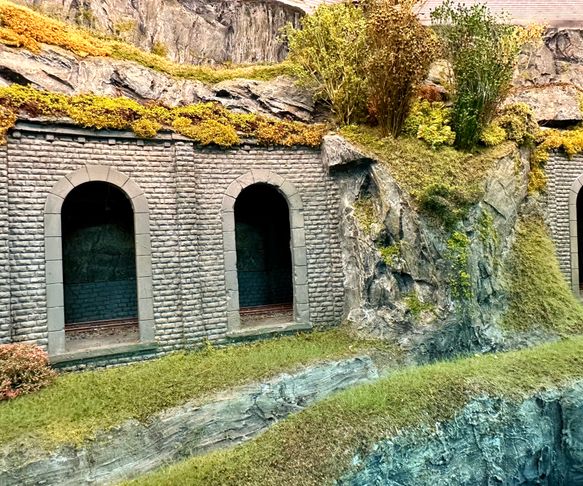
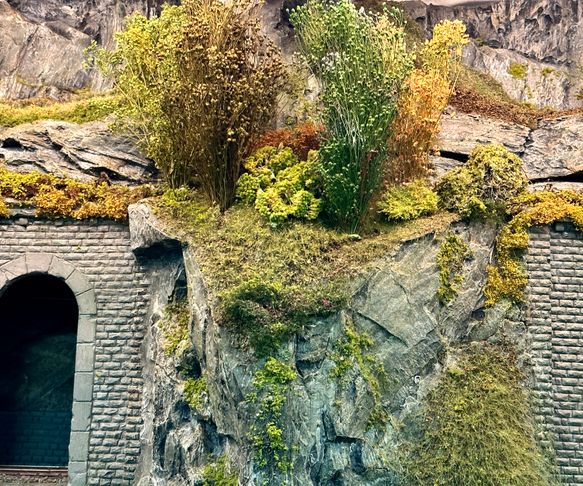
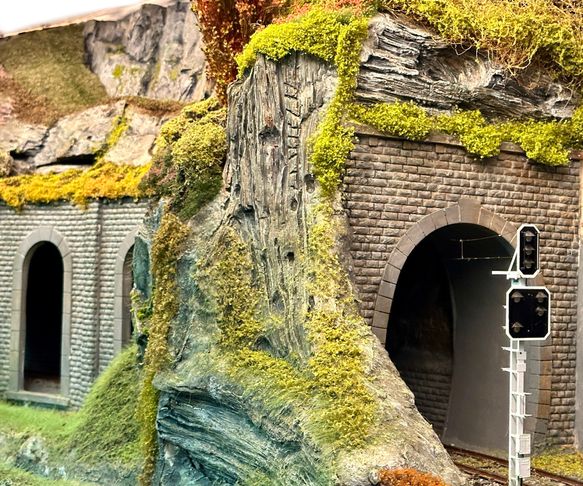
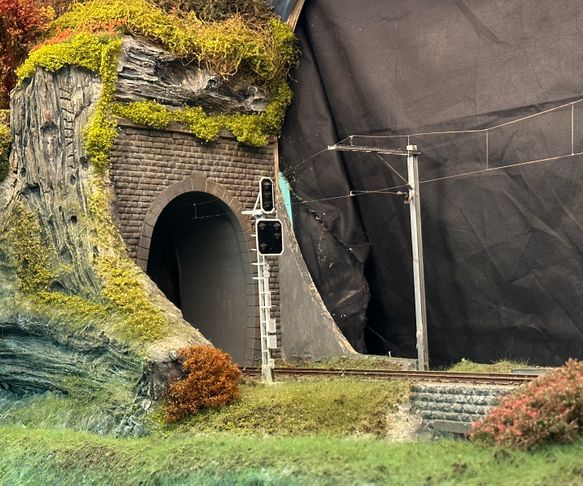
Gallery and tunnels :
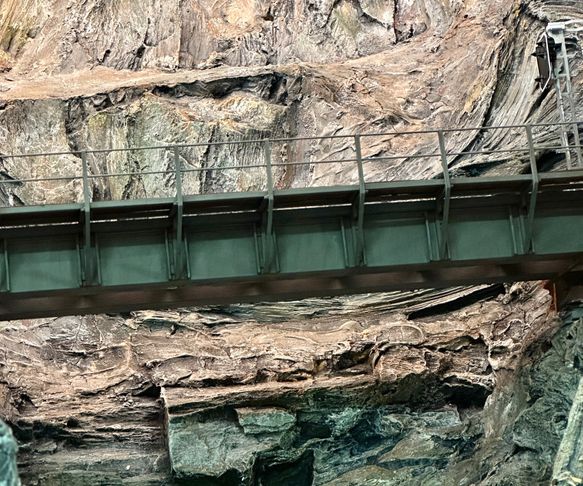
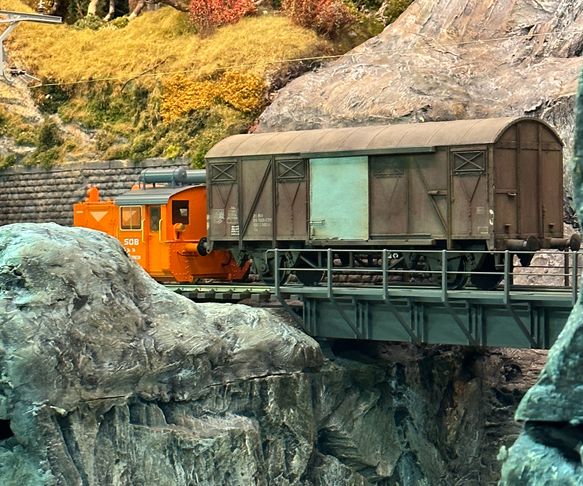
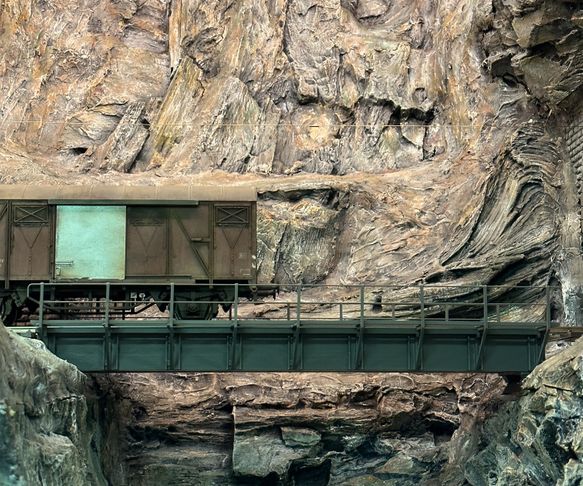
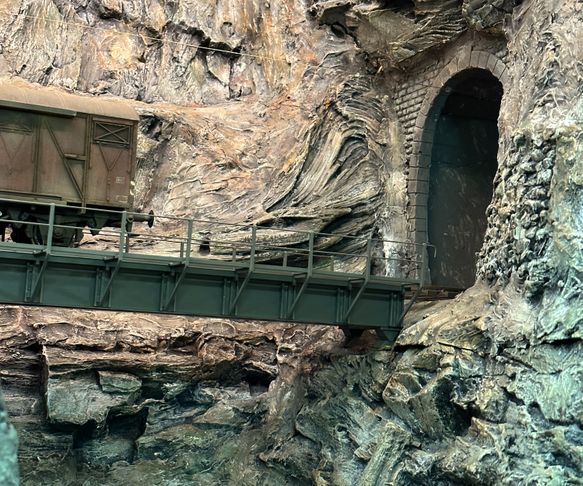
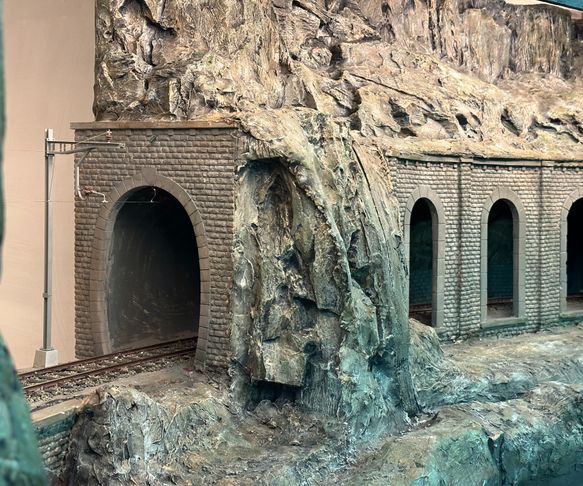
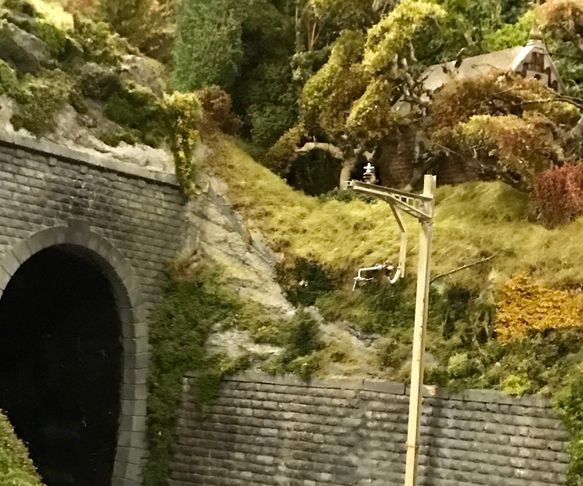
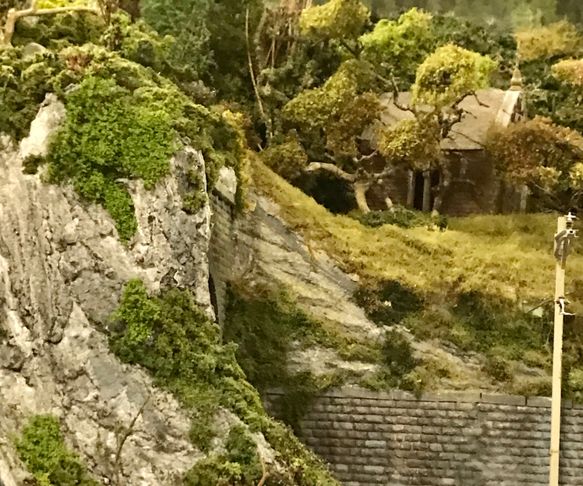
A model railroad in scale 1:32 needs a Gallery and tunnels : here is the making of them
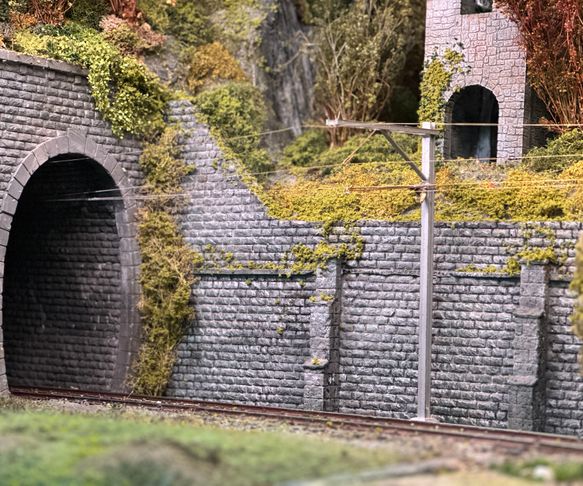
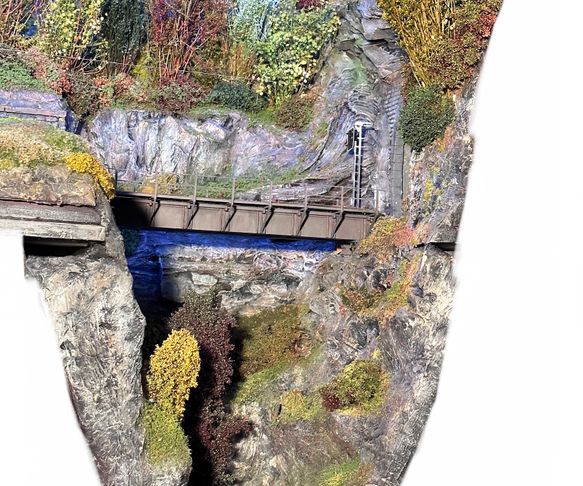
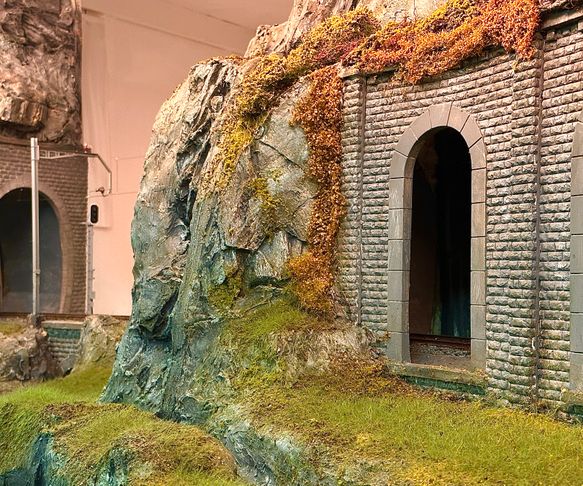
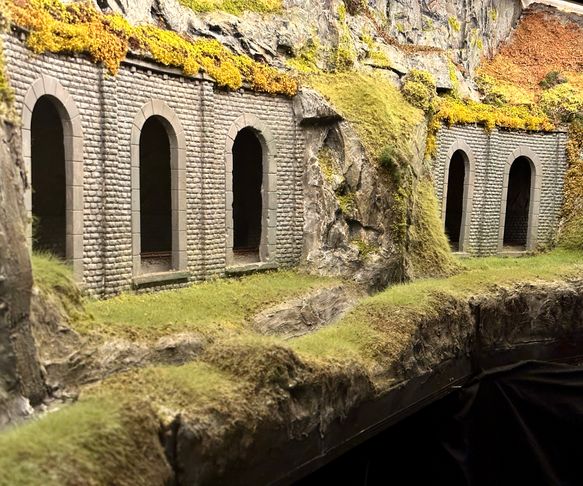
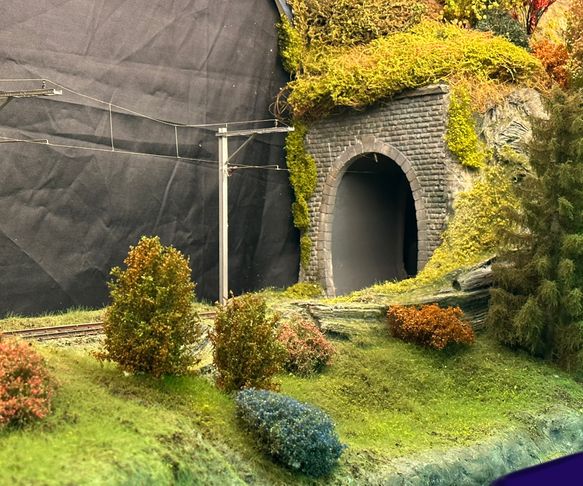
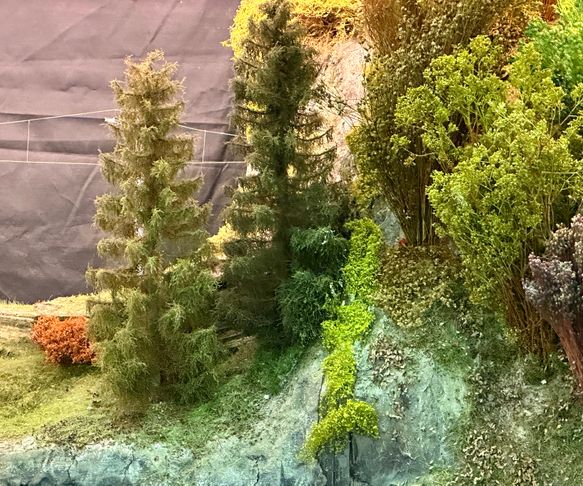
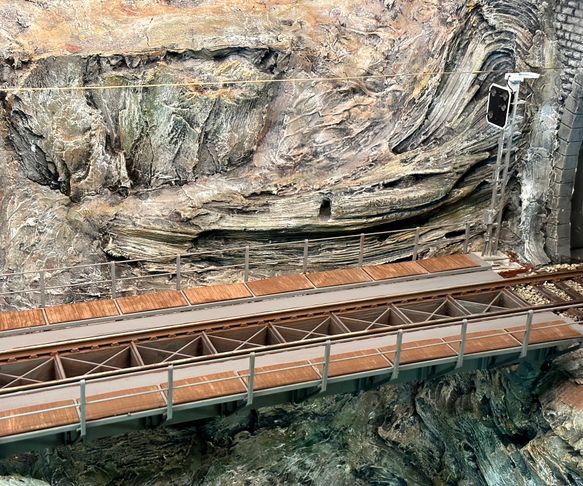
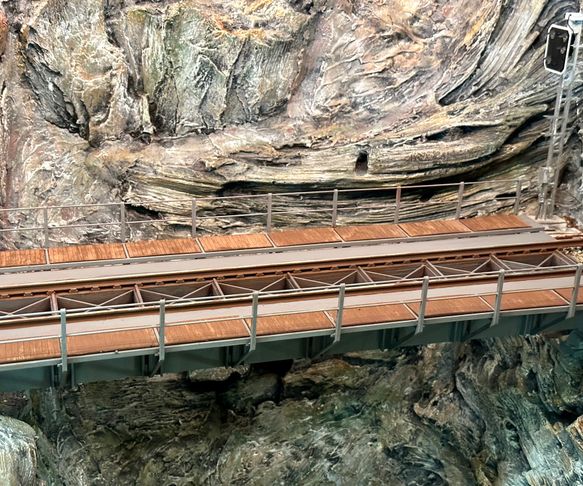
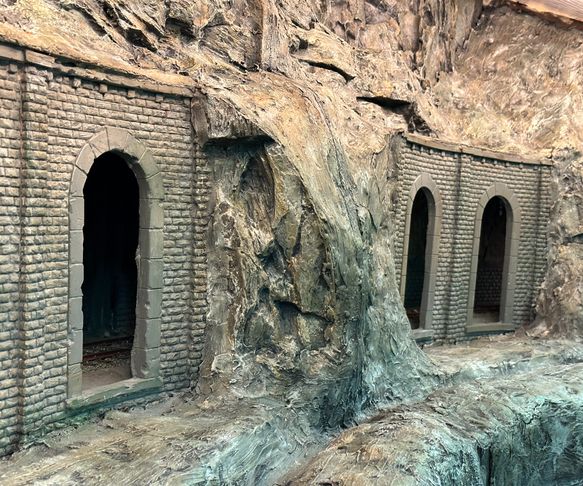
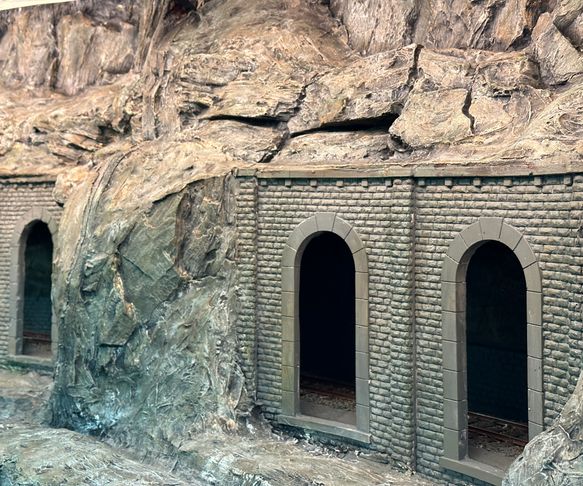
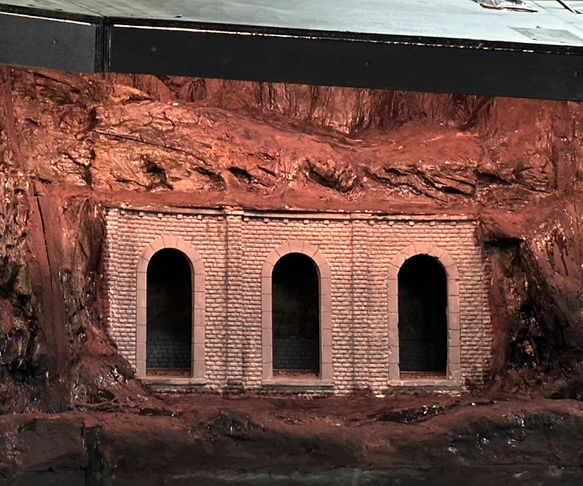
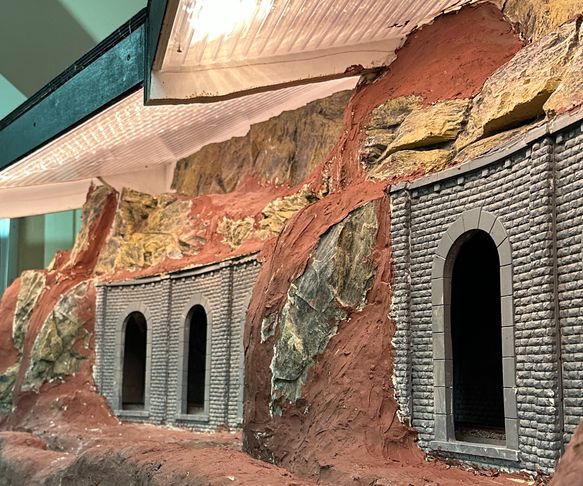
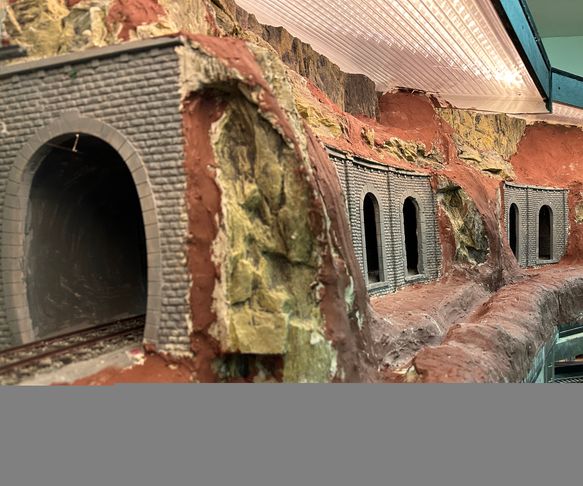
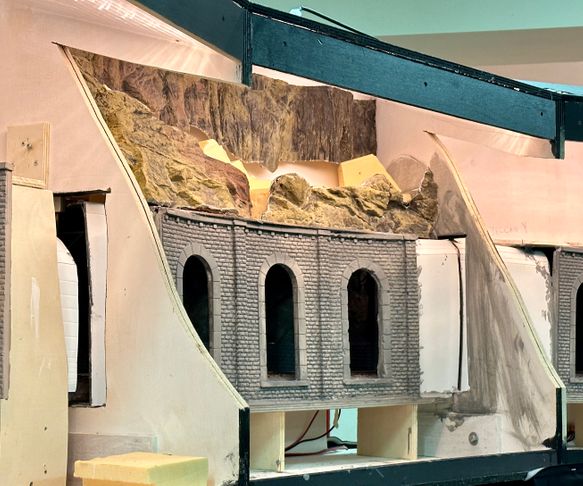
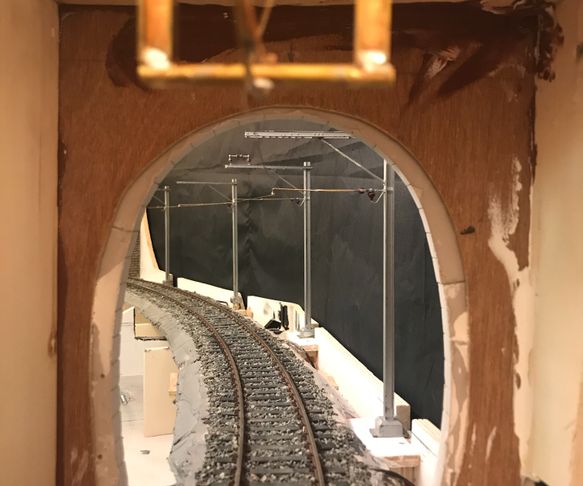
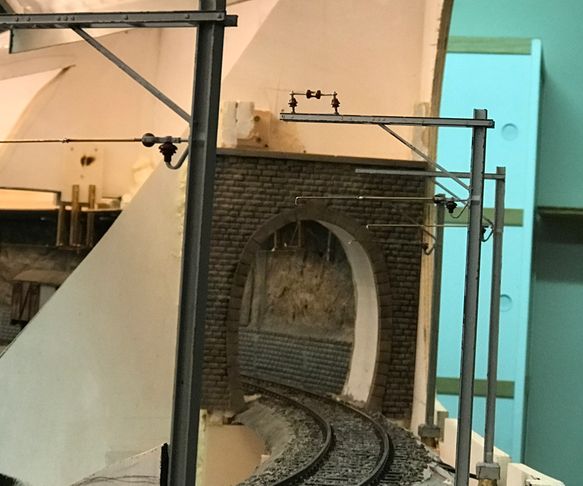
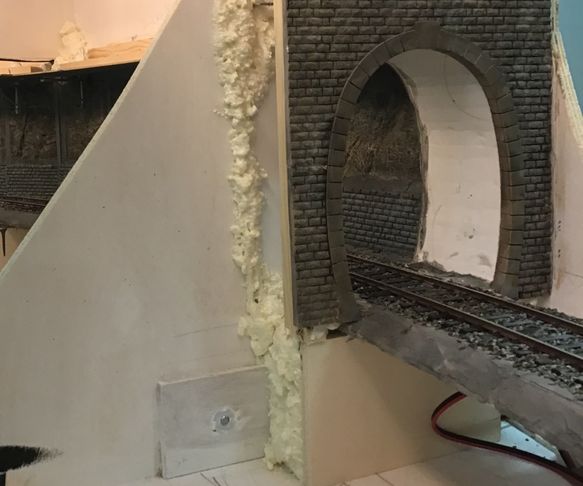
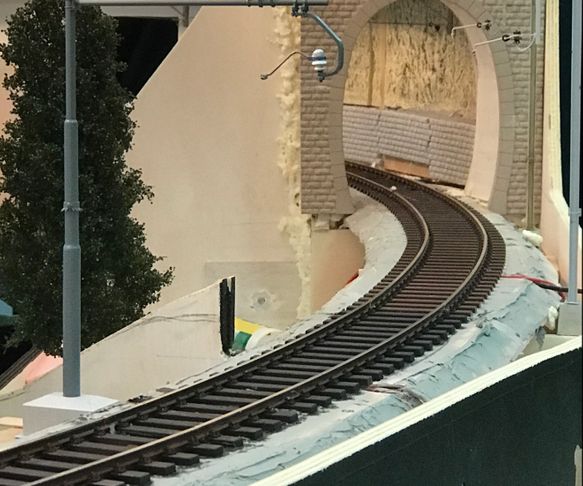
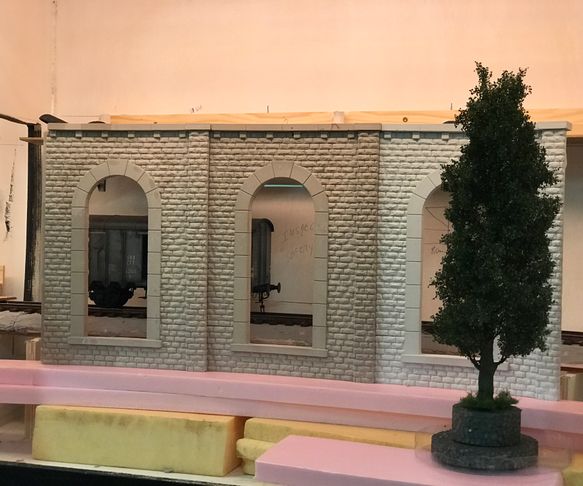
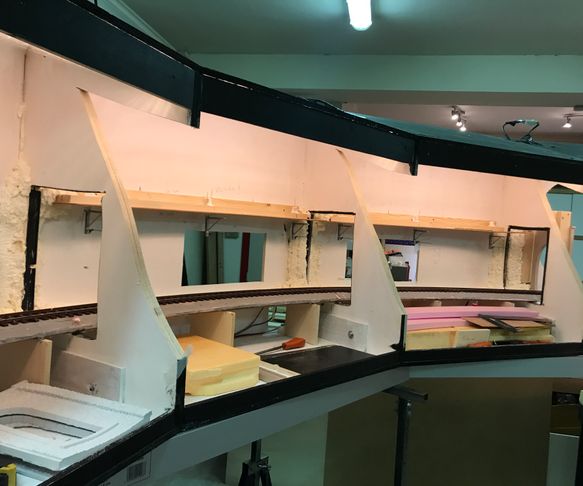
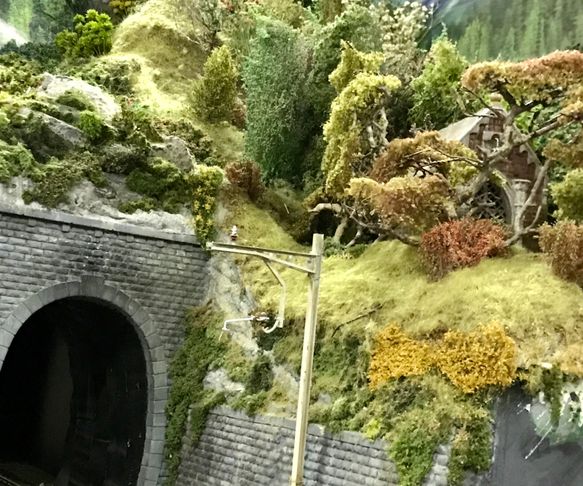
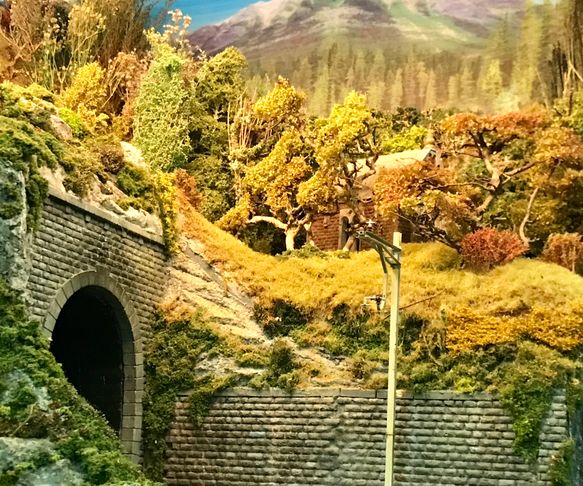
In our new section, the curve, there will be 2 railway tunnels and 1 gallery. Their construction will be discussed here.
First, there are quite a few conditions we have to take into account:
1. It is a modular layout
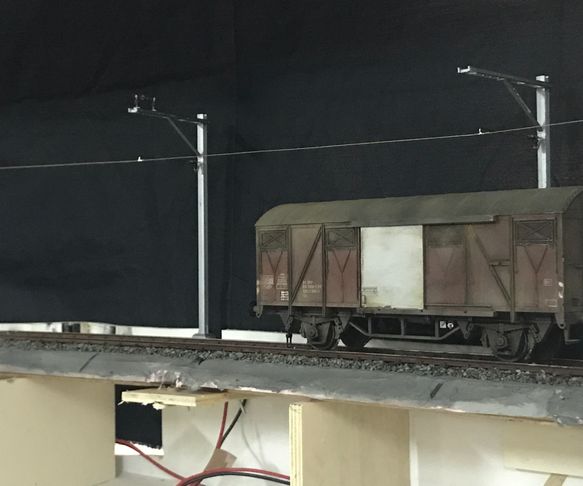
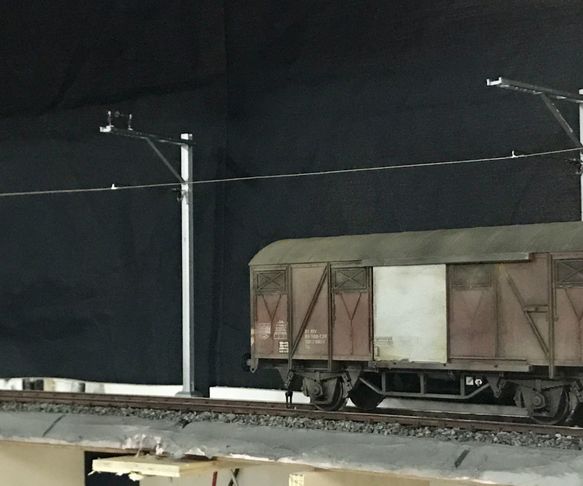
2. There is a functional overhead line, the pantograph always makes contact with the contact wire. Therefore, extra attention must be paid to the transitions between the modules. The contact wire here will consist of a brass wire. This makes it possible to have transition tubes at the ends of each module over the brass contact wire and so have a "continuous" contact wire.
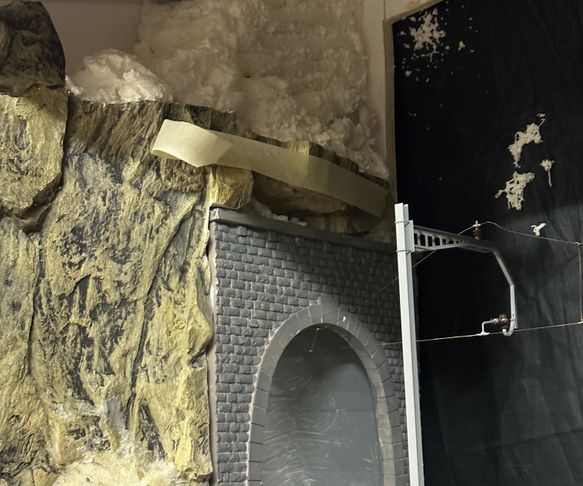
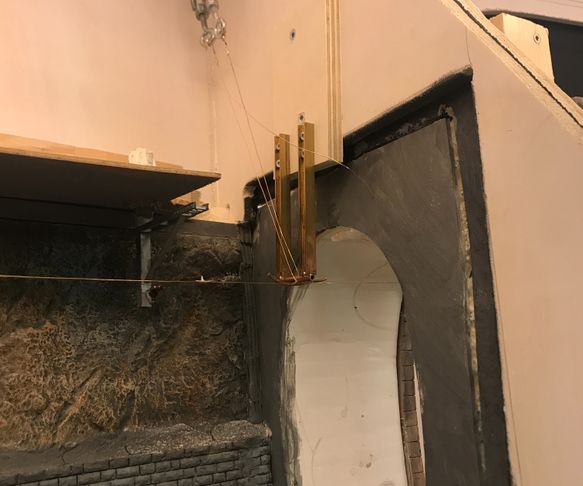
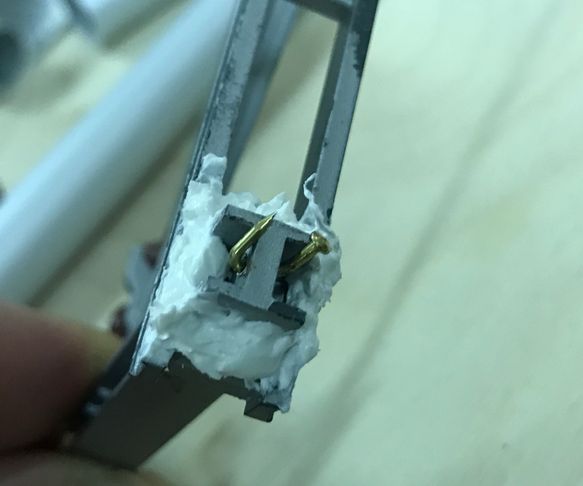
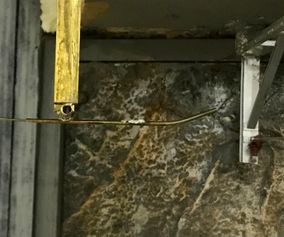
3. The contact wire transition between the visible parts and the tunnel parts will have to be made in a different way as the contact wire in the visible parts is very thin. Here we are going to use springs to fix and tension the contact wire in the beginning of the tunnel. We have to make sure that the pantograph can easily make the transition and that everything is visually acceptable.
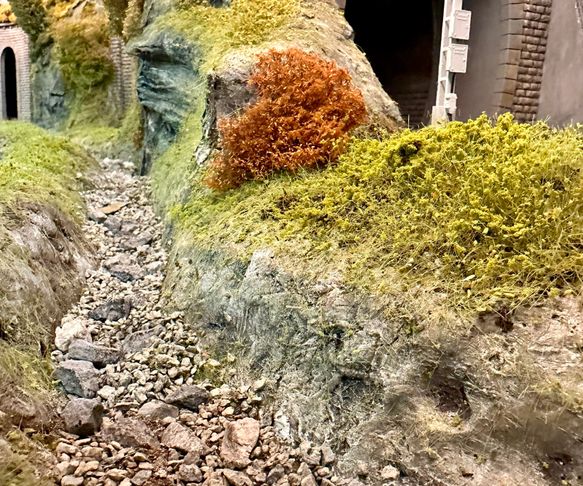
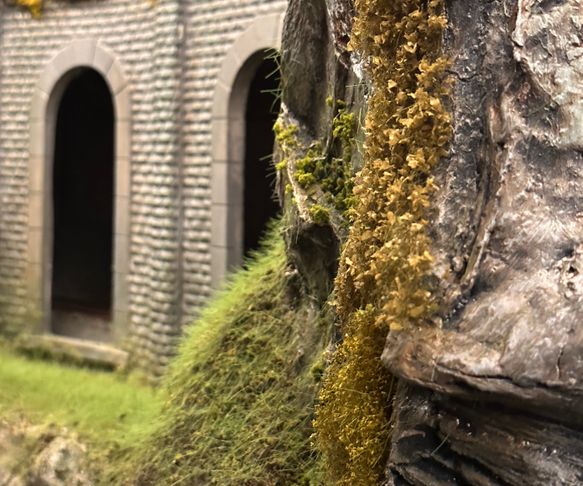
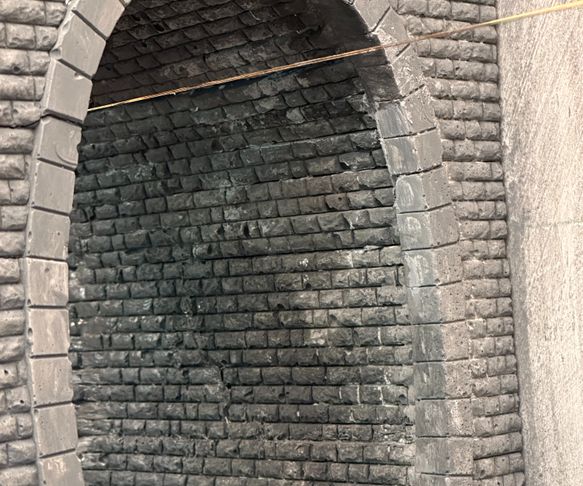
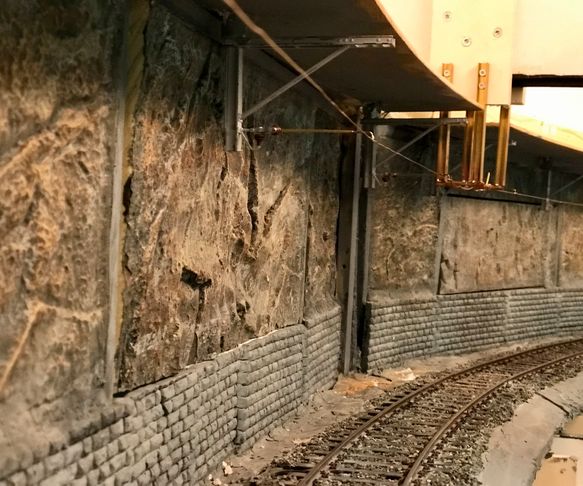
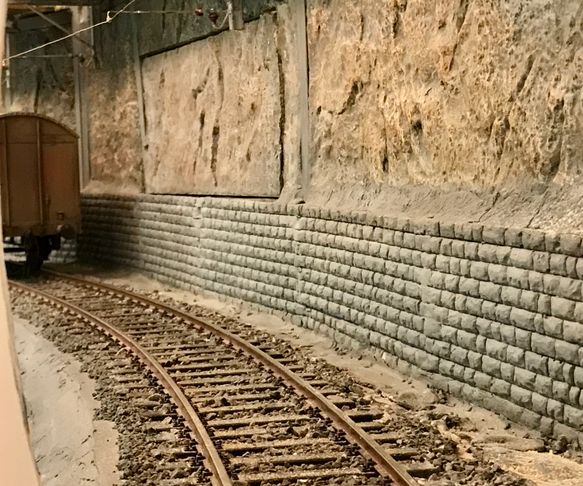
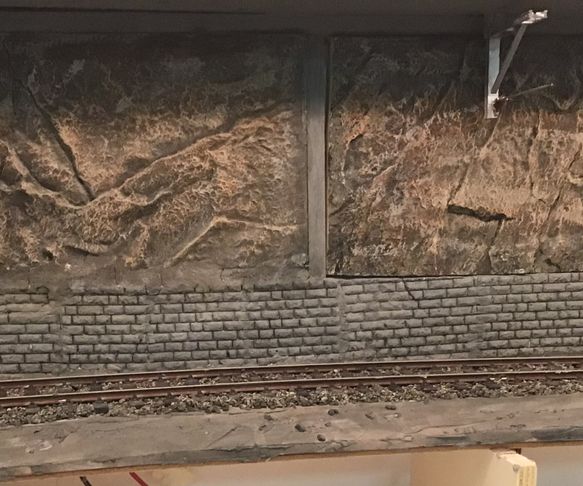
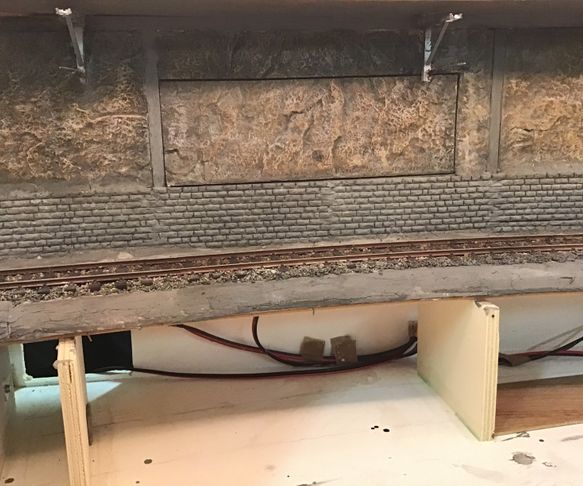
4. The inside of the gallery and the tunnels must be finished: rock faces, walls, support beams...
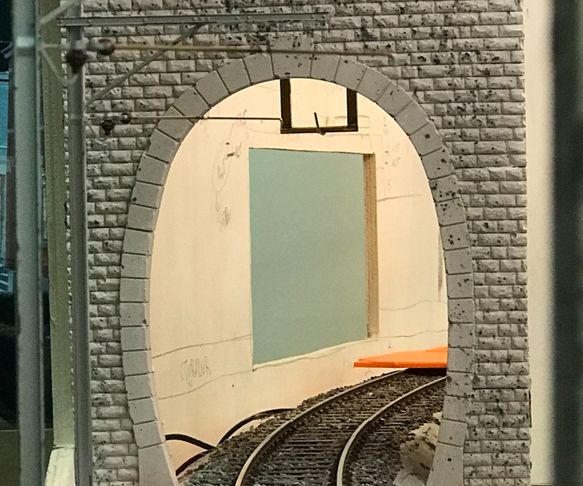
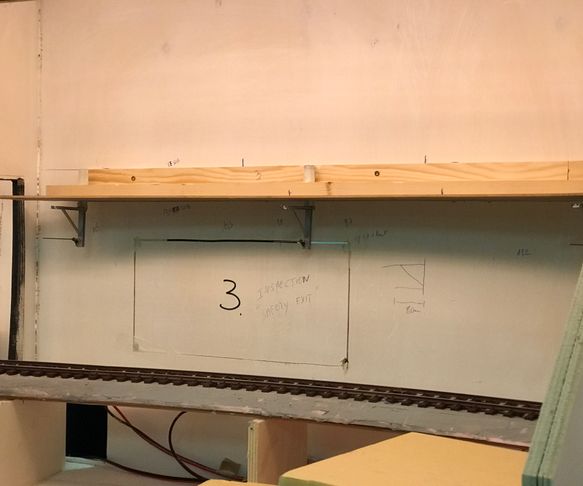
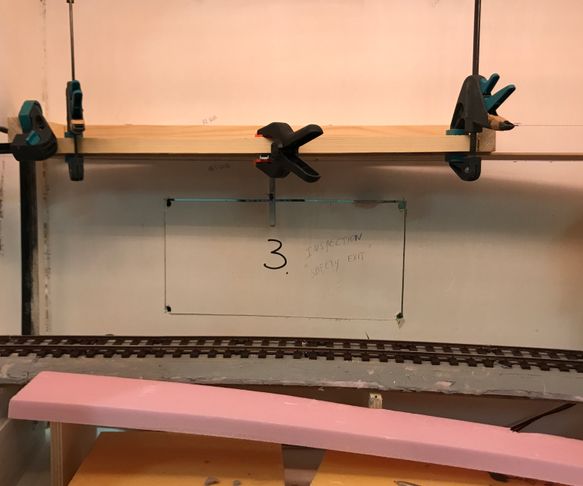
5. At the rear there are lockable openings to allow intervention in the event of derailment or technical failure. The edges of these openings must be hidden as well as possible. Also in terms of fastening these inspection hatches, they should stick out as little as possible at the back. Indeed, each module is packed in a box for transport to an exhibition. Therefore, we will try to keep the hatches in place by means of velcro straps.
6. Through the openings of the gallery, the inside of the tunnel is visible. Here again, the choice of the height at which the walls are placed will determine what the spectators get to see. The height of the contact wire is 16.5 cm above the track. The ceiling of the gallery is at 27.5 cm above the rail.
7. We transformed a part of the NMBS layout to link the Church part to the curve part. These two modules are not to leave our rooms.
8. Meanwhile, we're at the end of November 2022, plans have changed a bit, in that the entire turn will be located in Switzerland. After the turn will be the small station, now with NMBS overhead lines, which will be provided with an Italian-looking station building and FS overhead lines.
more info on the bottom of this page.
Translated with www.DeepL.com/Translator (free version)
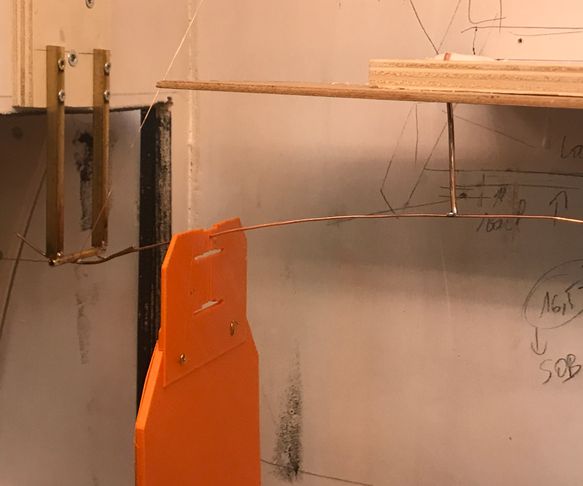
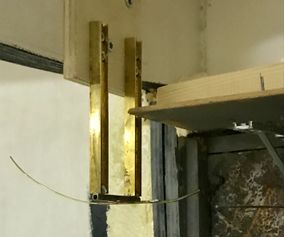
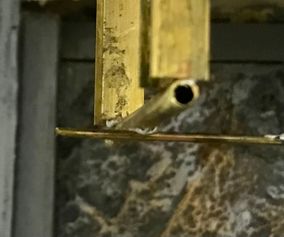
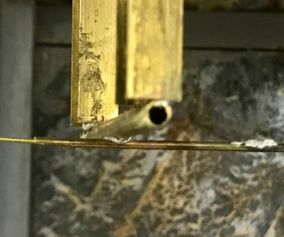
9. First test set-up related to the separation of the modules and the construction of the catenary . It is necessary that the pantographs take the transitions between modules as smoothly as possible. We are going to have to test whether the speed will have to be limited or whether we can still, as is the case with the church modules, we can run at high speed even if the locomotive approaches and leaves the section with catenary.
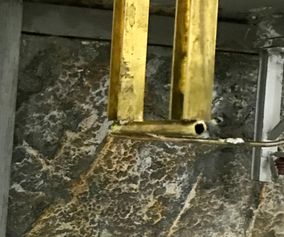
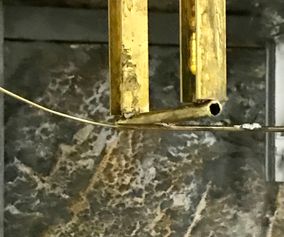
A small brass tube ends just before the end of the module. So this way transporting the modules cannot damage the catenary.
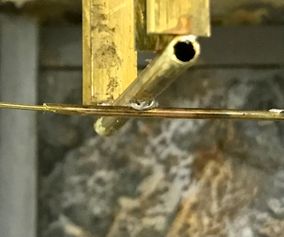
A smaller brass wire is put into the tube. The tube has been filed down at an angle so that the pantographe will pass smoothly.
At the separation of the modules, the brass wires should run at the same height for 1 or more cm, though close to each other.
This is a first test !
The catenary in the module itself will be stretched at both ends of the module.
November 2022 :
The curve consists of 8 modules.The chances of going to an exhibition with this part are quite small. It will be more along with the other parts a showcase for what we can build. This allows someone who wants to order something from us , to get an idea of what might be possible.
But so this means that the modules should be able to be detached from each other. So will the overhead wire. Since it must be tensioned, there are various types of transitions made.
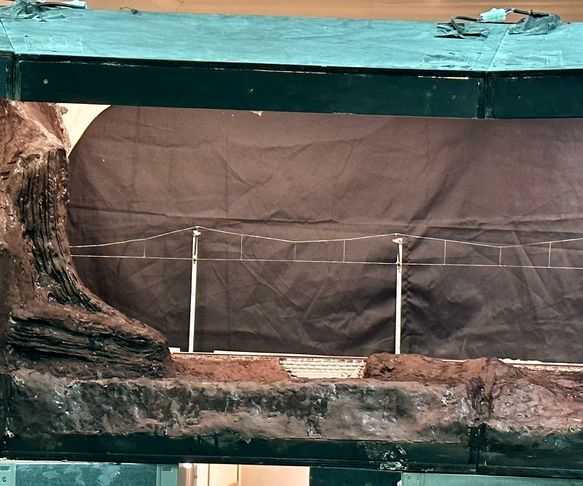
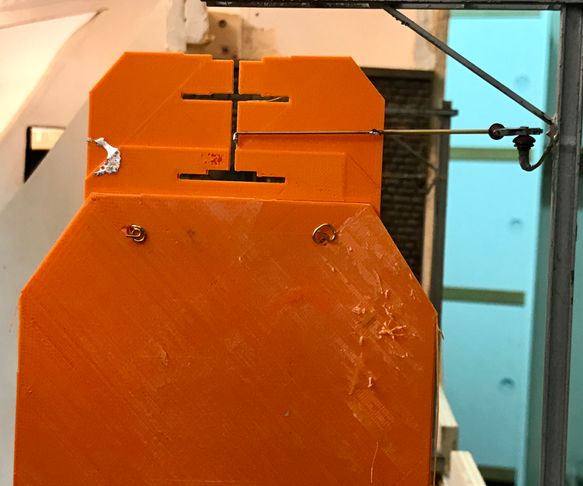
The first part after the "Church" layout is fixed, the catenary masts are attached. The catenary wire can be detached both left and right (side of the curve). You can see that the wire is diverted to the top of the first module. In the back wall is a small opening so that we can hook and tighten the tensioner.
The catenary wire of the first 3 modules is fixed by itself in each module.
In the 1st module, the wire is fixed on the left side with tension system in the top of the module. At this point , the wire from the transition part between the "church" layout and the "curve" layout is also hooked in the same eye at the top of the module. The right part os the wire is hooked in the eye of the 2nd module.
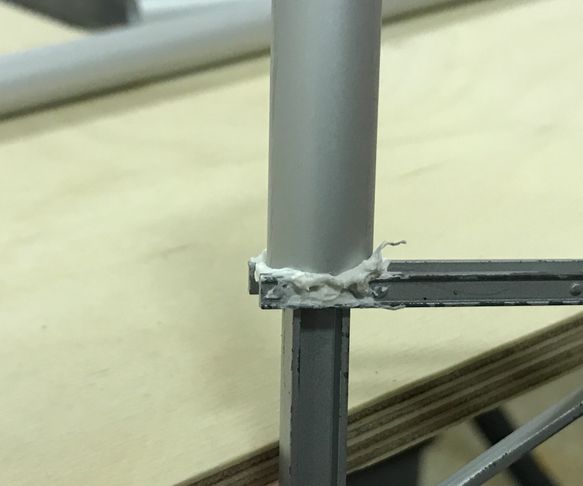
In the 2nd and 3rd module, the contact wire is soldered to the transition piece (between 2 and 3) on 1 side and on the other side there is a tensioning system at the top of the module (left side for module 2 and right side for module 3). The transition between the 2nd and 3rd module is formed by 2 brass wires inserted into the thicker solid soldered tubes. So nothing sticks out of the module when it needs to be transported. This system will have to be tested extensively since there can always be a hitch in the pantograph.
Between the modules 3 and 4 we overlapped the thicker soldered tubes. This gives greater operational reliability. Only during transport the protruding tubes must be well protected.
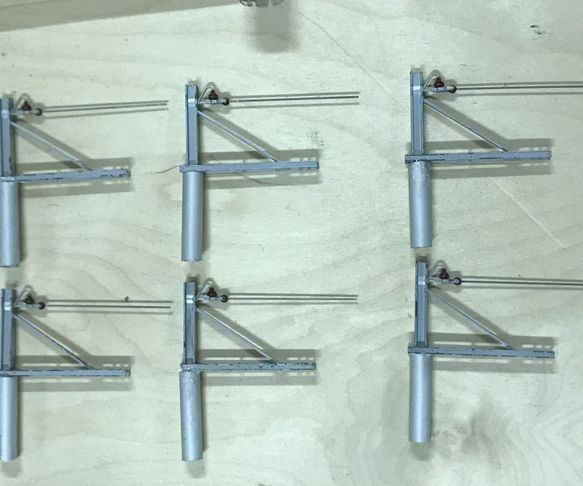
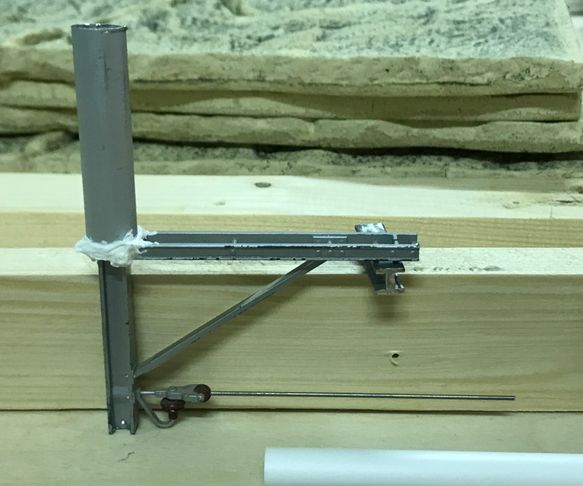
In the modules 4 and 5, the track is largely visible. The catenary masts in module 4 are removable (plug system), those in module 5 are fixed. During transport we will unhook the wires, detach the pylons from module 4 and place them on module 5.
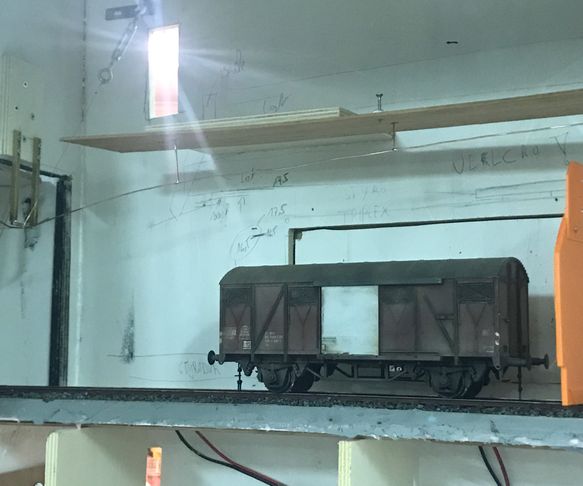
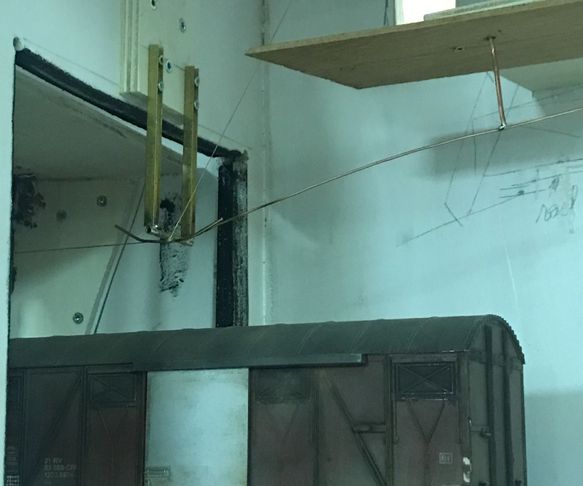
The tunnel section in modules 6 and 7 (the track will disappear completely) is built so that the pantograph will not touch the contact wire at the transition between the two modules. A copper wire will catch the pantograph back and guide it to the contact wire. The copper wire should still hang at the transition at a height of 23cm so that the pantograph is allowed to be completely in its highest position without touching anything.
In the 8th module comes the track from the tunnel . In this module, the overhead wire will have to be tightened, coming from the station on the right. Also the catenary mast will have to have a tensioning system that can tension the contact wire coming from the branch track.
Since we want to take the "station modules" to an exhibition someday , we will have to make a new additional terminating piece (module) that can replace the curve module . The catenary mast mentioned above will also have to be placed on it, and also at the correct distance in connection with the tension of the contact wire coming from the branch track. Some thinking will have to be done.
Translated with www.DeepL.com/Translator (free version)
