CURVE 180 degrees
Curve 18o degrees : construction (part 2)
Model railroad / model railway in scale 1:32
September 2020
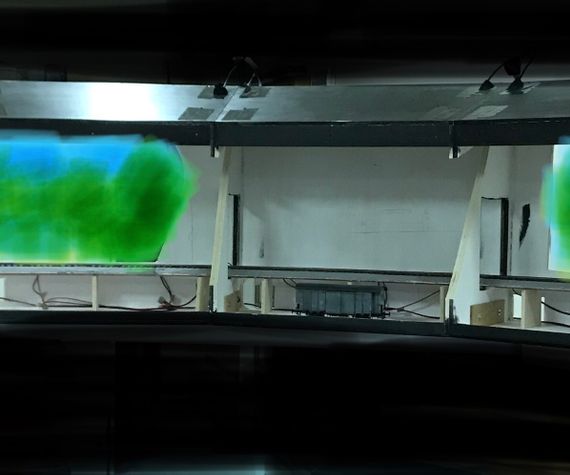
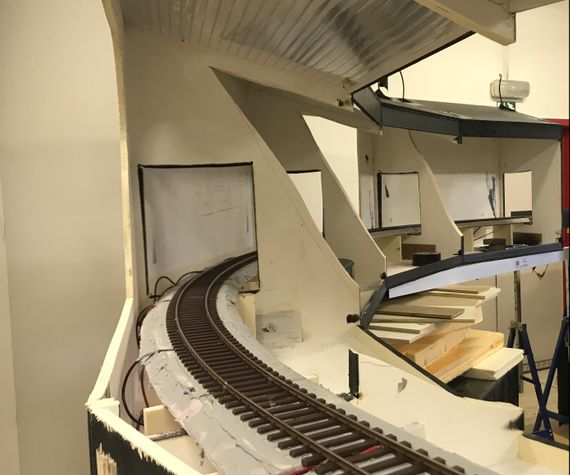
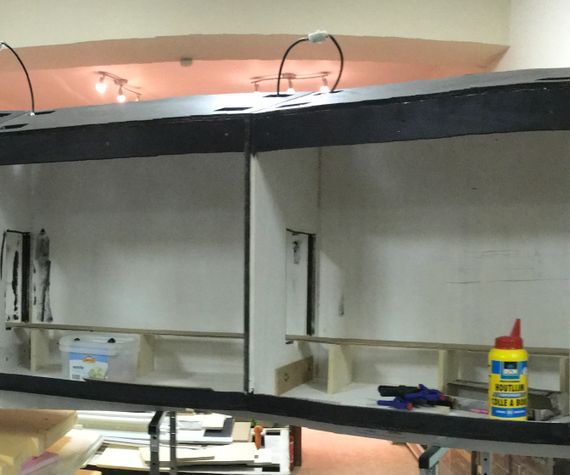
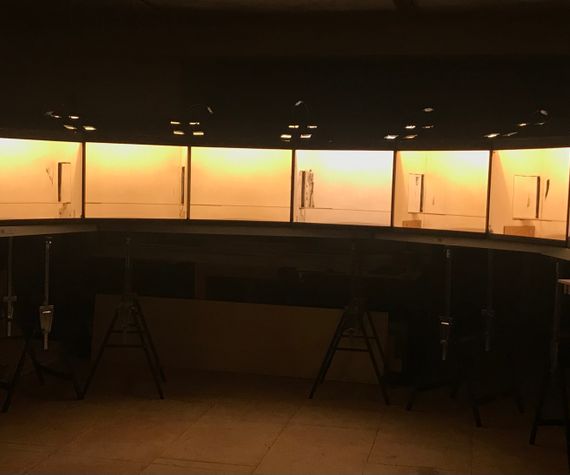
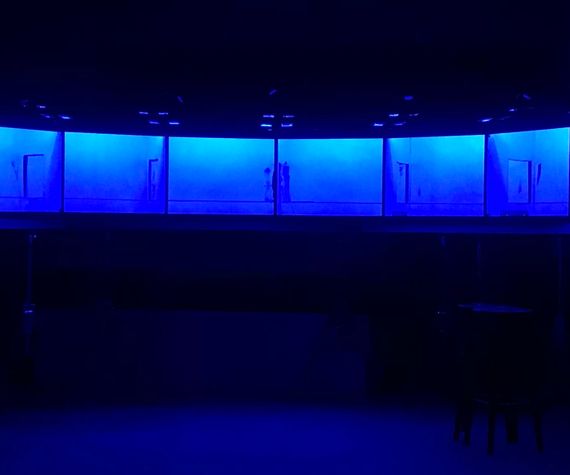
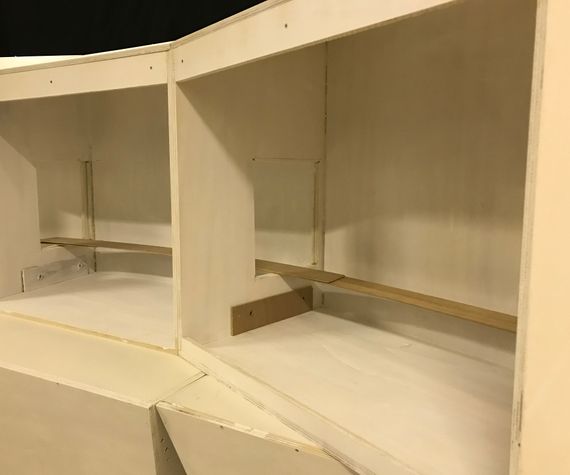
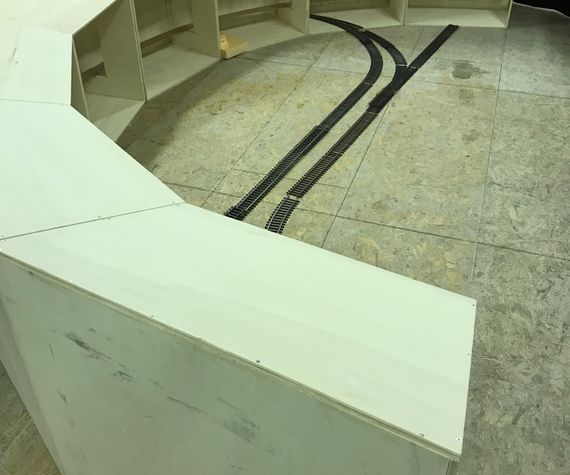
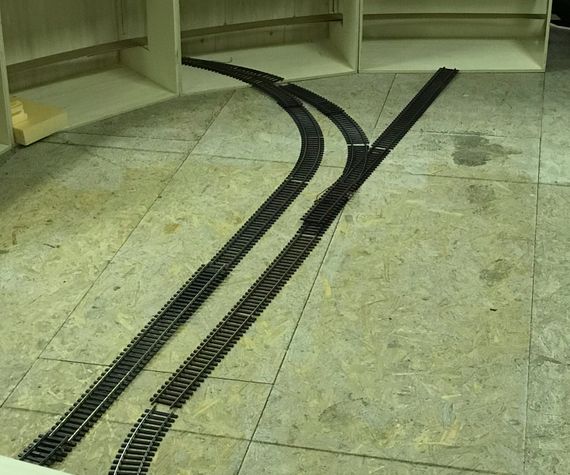
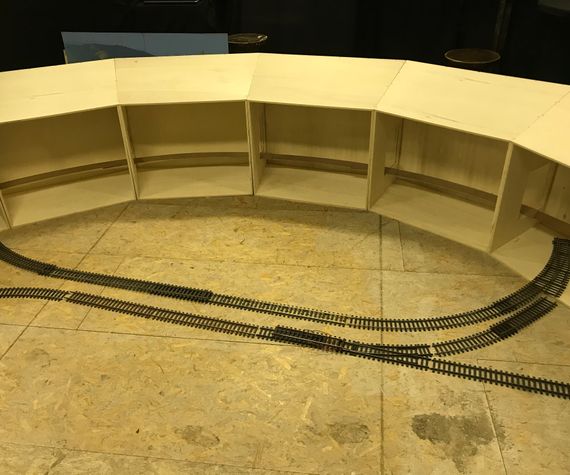
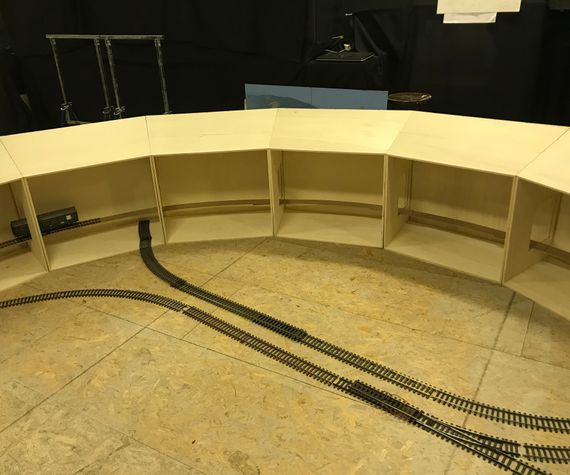
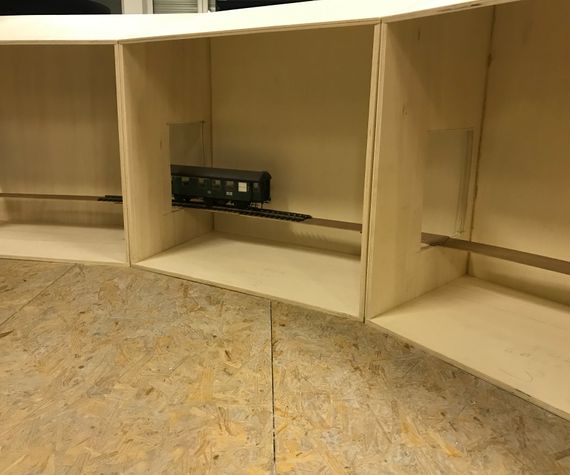
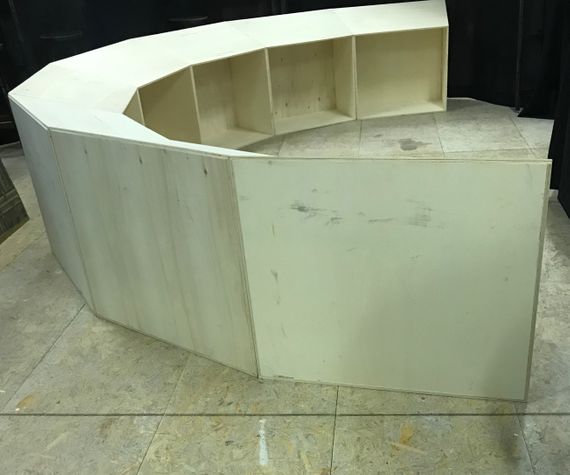
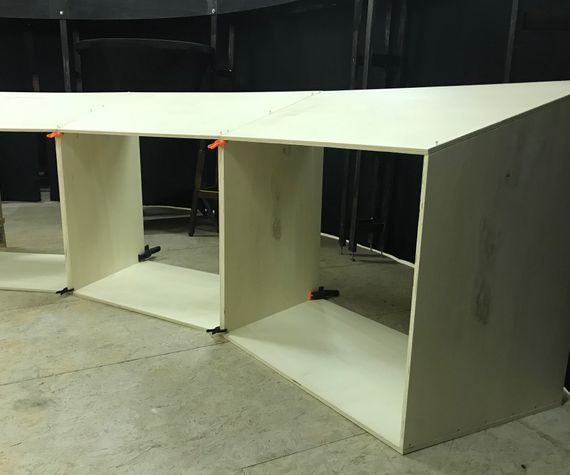
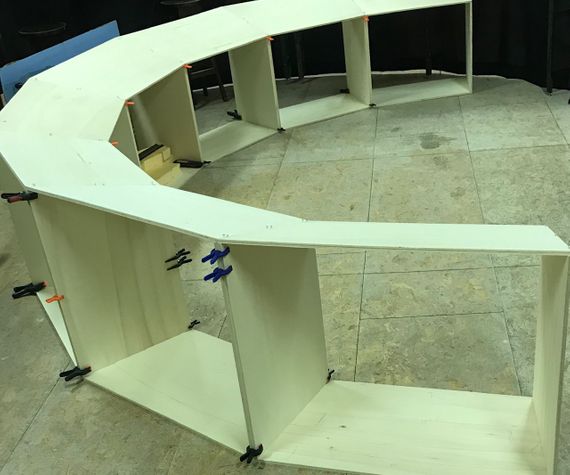
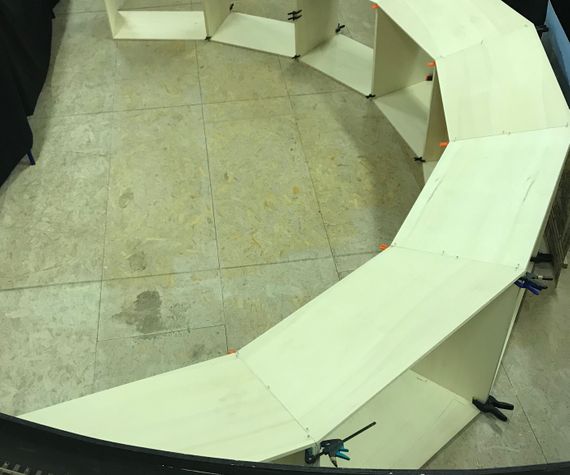
8 modules form the curve.
Each module is 500mm deep, the front is about 760mm, the back side measures 955mm. The height at the front is 650mm and at the back 800mm.
Poplar plywood (12mm) is used. As the landscape progresses, the modules will become stronger because of all the styrodur that is glued in the modules.
A difficulty will again become the catenary. When the track is finished we will give you all the details.
The roofs of the modules are inclined upwards and this is so that the lighting would be less visible. There will also be other modules in the middle behind the modules that form the curve.
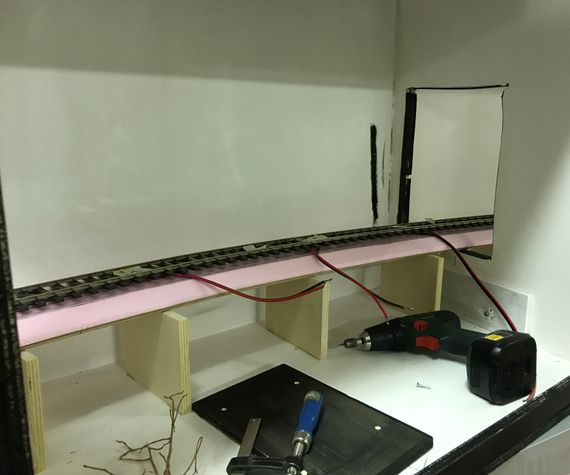
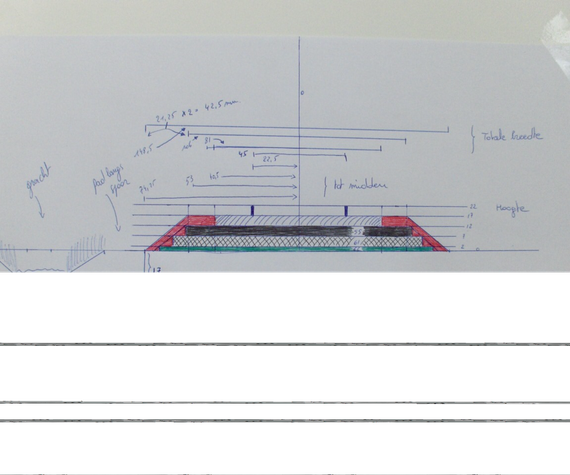
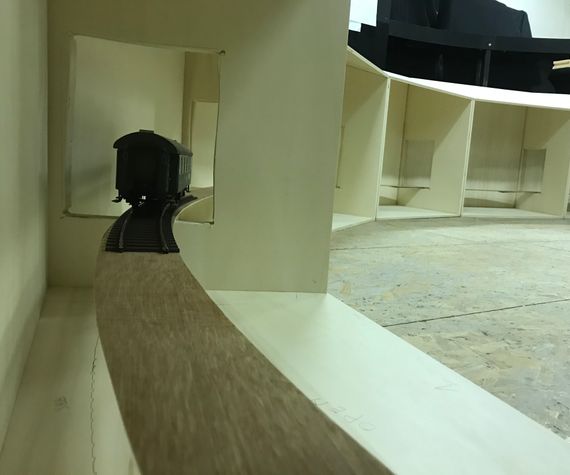
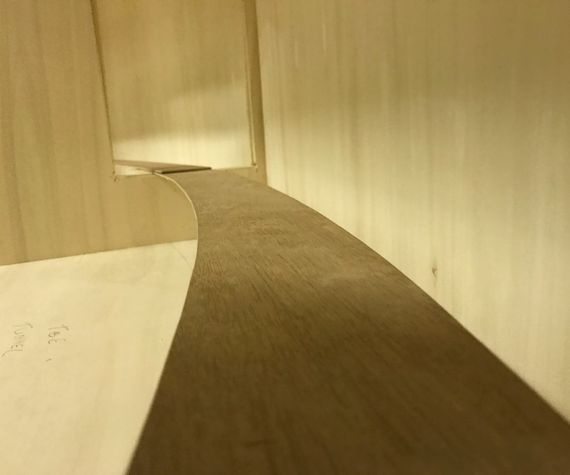
The track height will be at about 13cm. We glue a thin plywood plate on spacers. On top of this comes the track bed. The tracks are supported in total with 20mm thick styrodur material (which is a bit too high).
November 2020
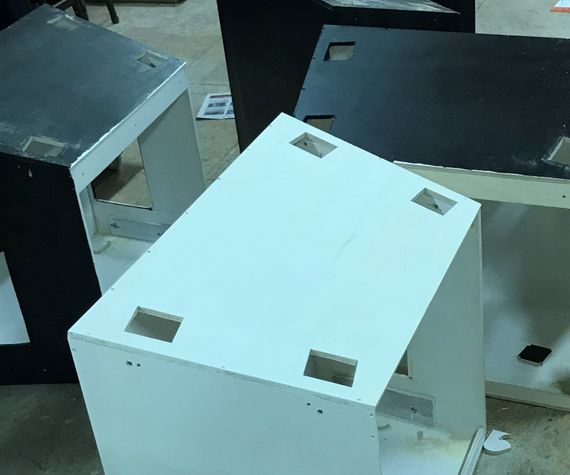
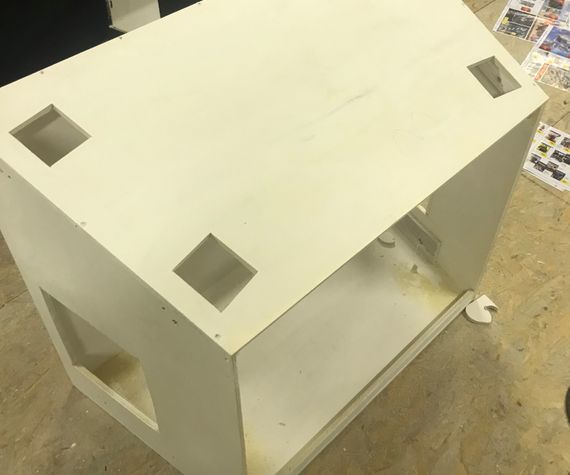
After several weeks of working on the modules, we came to the following state: the modules are painted on the inside and on the outside. In this way they are already a bit protected against a humid environment.
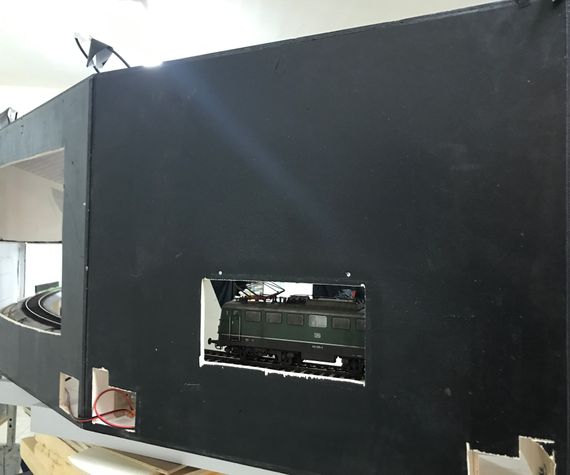
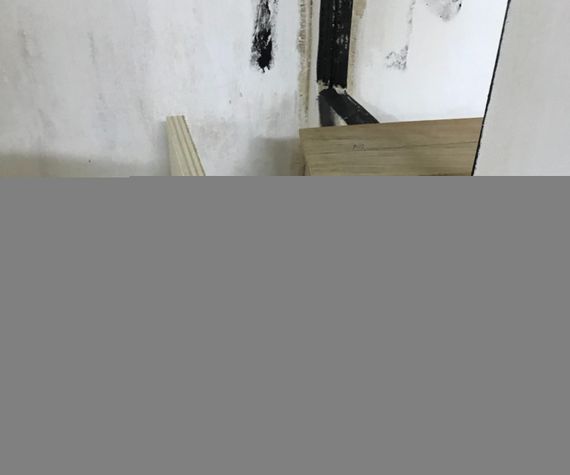
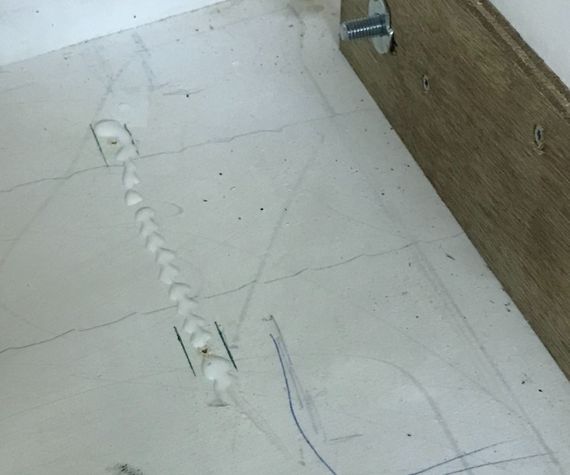
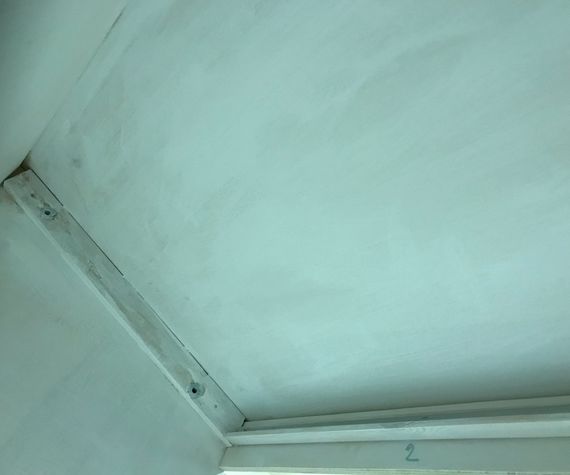
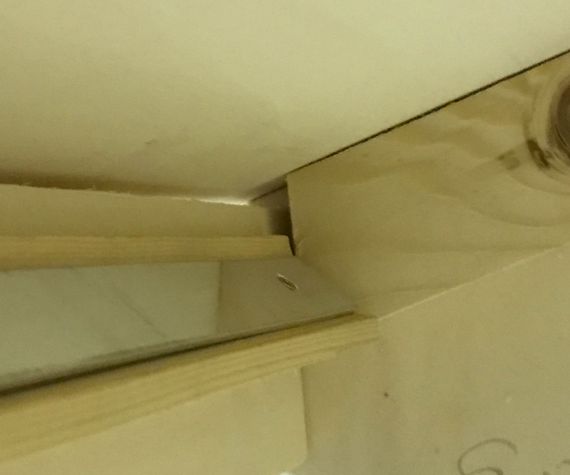
There are 4 openings in the ceiling so we can attach the modules to each other at the top. Access to the mounting bolts at the bottom of the modules will be through the back wall. This is necessary because the modules will rest on other modules later and if we make the openings at the bottom, we can't get to them. Since the openings are at the back side, we have to take into account when placing the track bed that we keep an opening free to get to the bolts.
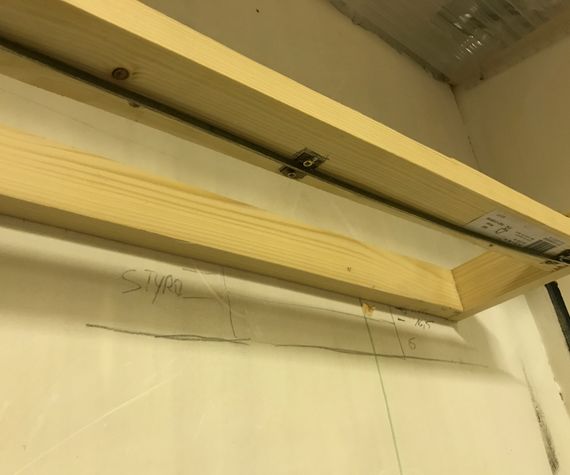
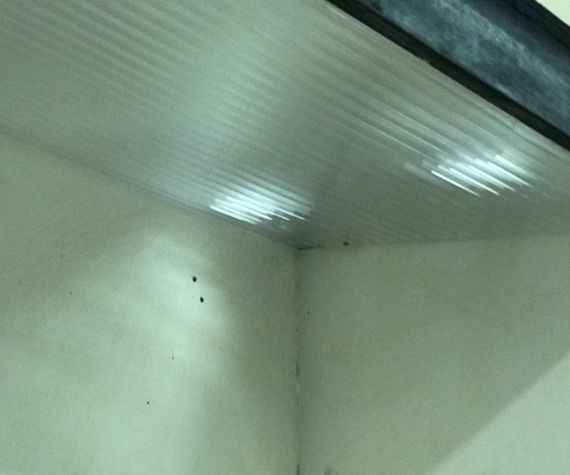
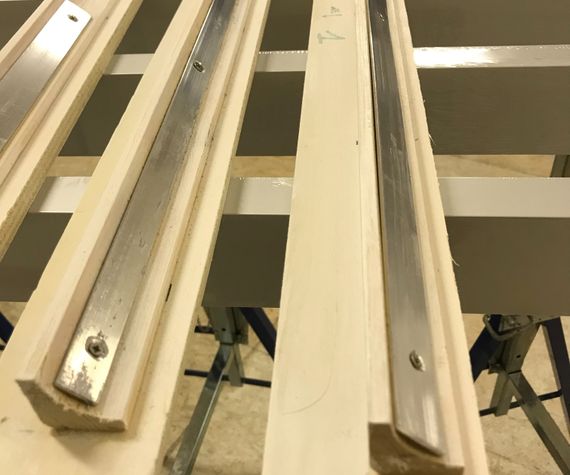
The next step is now to apply an ALU foil to the ceiling and the sides of the light box. This creates a reflection of the light. We also need to attach a short cable duct to both sides of the ceiling that will lead the RGB cable to the rear openings. The lighting (5 wire cable RGB+W) and the current of the tracks (2 x 1.5mm²) will be connected between the modules through the rear openings with 2 x 6-pin plugs.
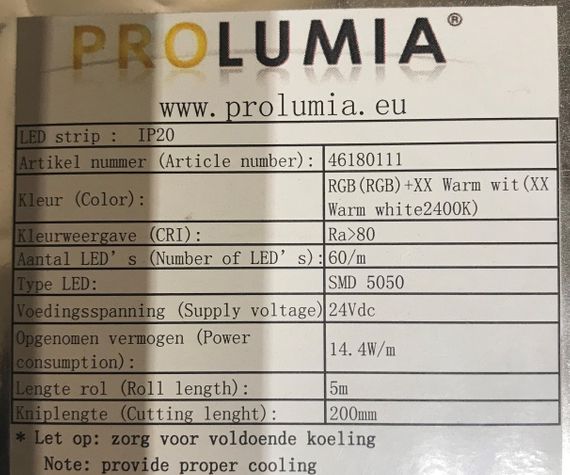
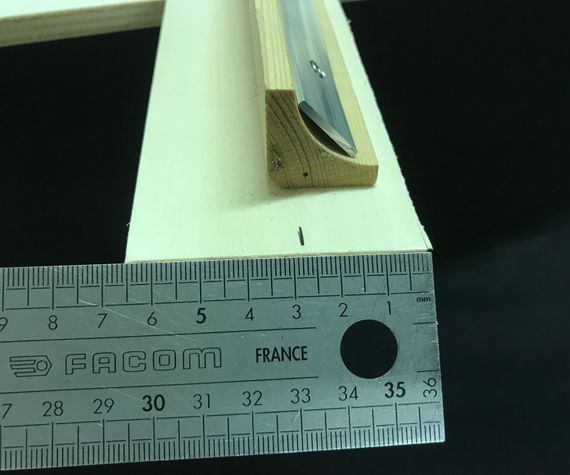
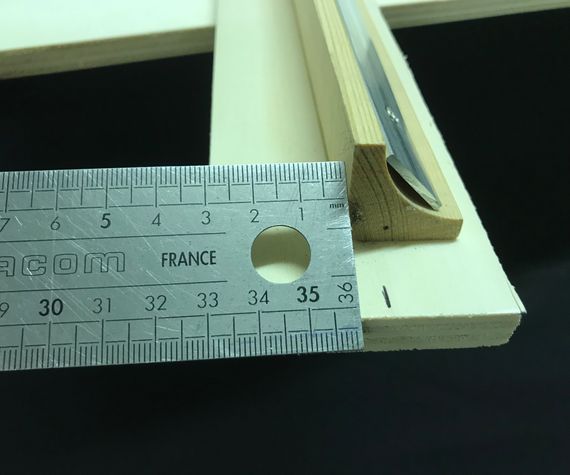
The LED strips (2400K) will be fixed on the aluminum strips with their double sided adhesive tape. Because in the past these sometimes let go, we will put a transverse reinforcement every 10 to 15 cm over the LED strip in transparent silicone.
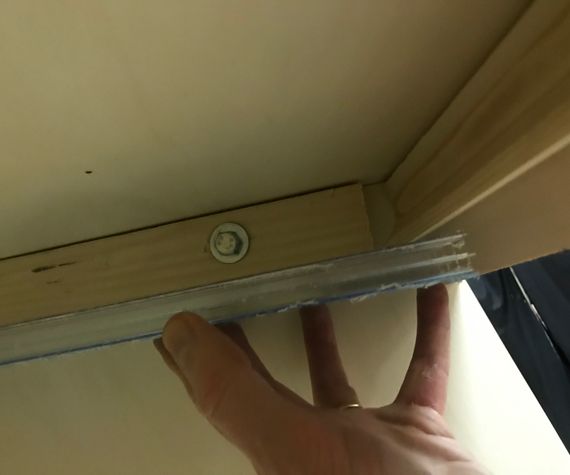
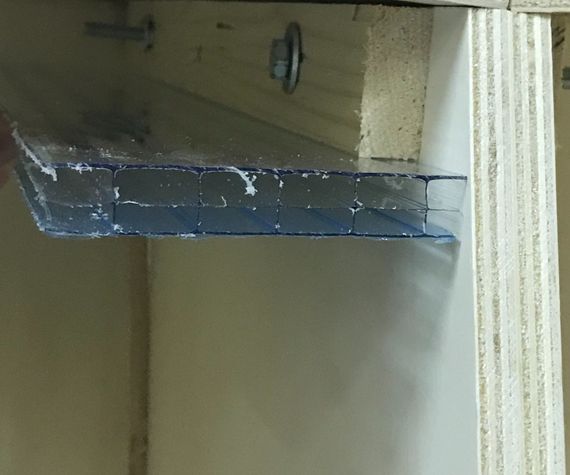
Then it will be time to cut the plastic cover to size and screw it on the 4 sides.
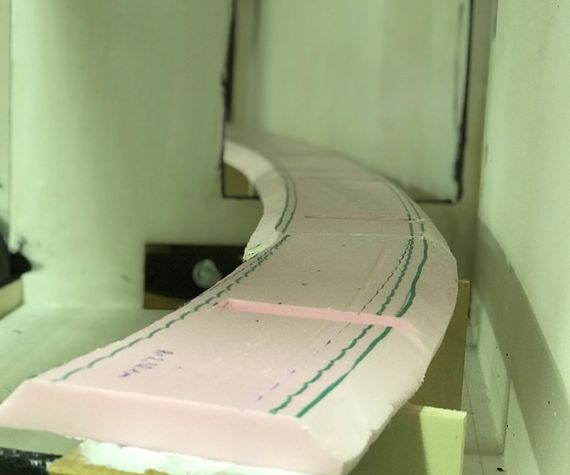
Once the lighting is installed in the modules, we can start laying the tracks. 2 layers of styrodur of 6cm form the basis of the landscape. They are glued to the wood and to each other with acrylic caulk.
On top of this, a plywood of 2 to 3 mm forms the base of the track bed. On top of this comes a layer of cork of 8 mm. The tracks will be temporarily fixed between the sleepers until it will be definitively fixed by the shotter.
But before we start fixing the tracks, each individual rail still needs to be provided with a flexible current wire of 1.5mm². As already mentioned, the current wires must be brought to the upper rear opening, both on the left and right side. It must be ensured that the current flows through the module, so the wires of all rails must first be connected to each other (E.g. the wire of inner rail is red, the wire for the outer rail is black), and then left and right 2 current wires (red-black) each go to the upper openings in the roof of the module. To do this, we are going to attach a small cable duct in both rear corners of the modules.
When all tracks are fixed over the full 180 degrees, we start shottering parts to fix the rails. After drying, we can cut the tracks at the transitions of the modules.
Then we are going to see if the rails are nicely aligned when we connect 2 modules to each other. If necessary we use connectors. If there still should be problems, we will fix the rails with 2 components epoxy glue.
December 2020 :
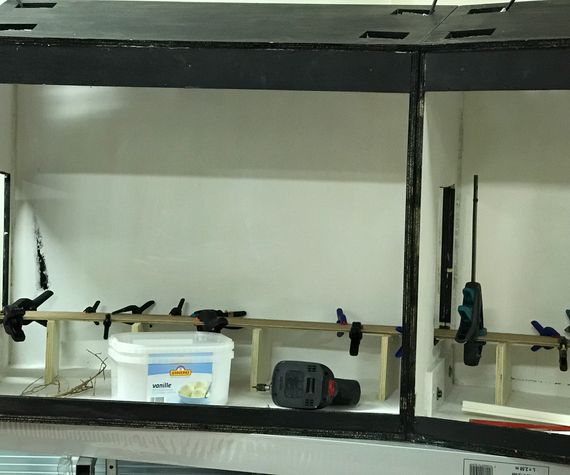
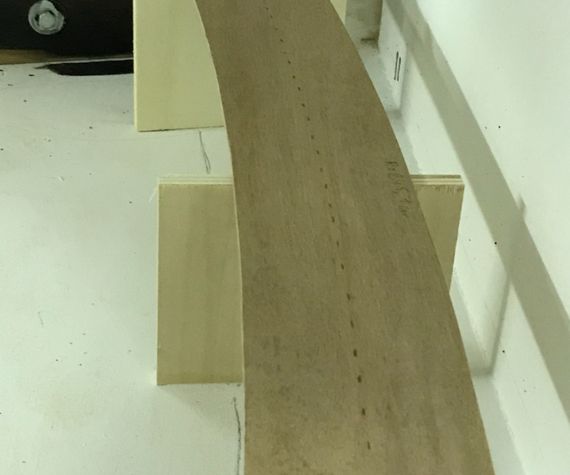
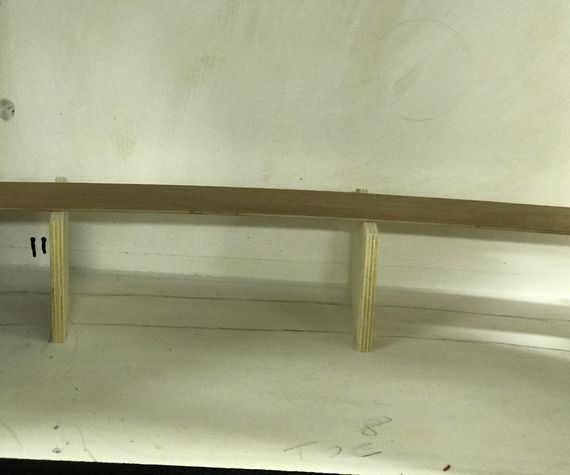
The tracks come on 2 layers of 6 cm styrodur. That's why the wooden blocks are 12,2 cm high so that we can glue the styrodur with acrylic caulk between both layers of styrodur and between the styrodur and the bottom. of the module
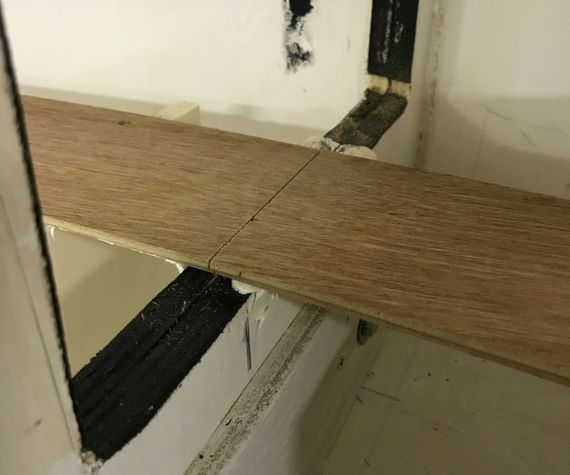
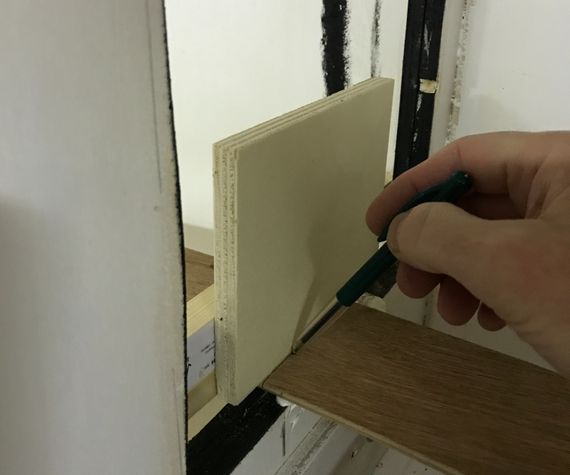
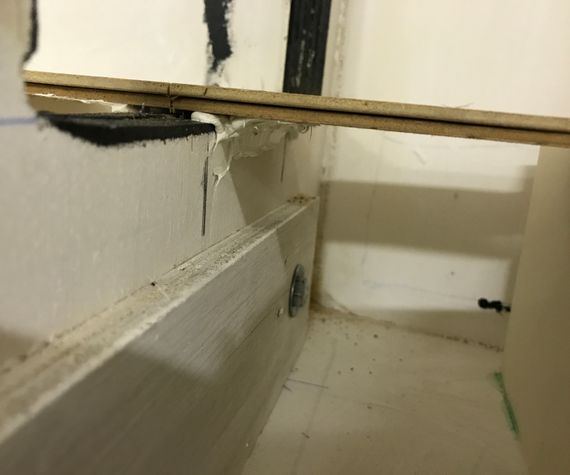
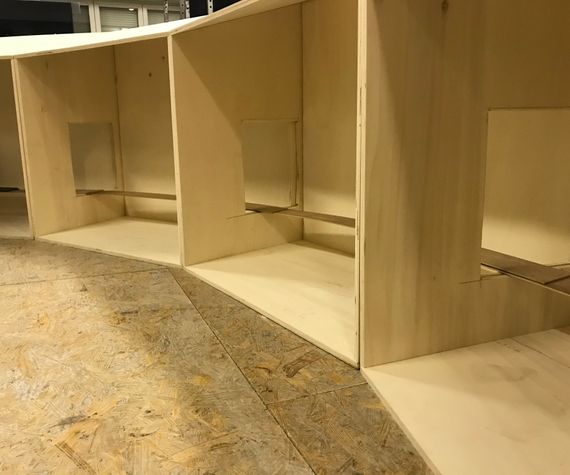
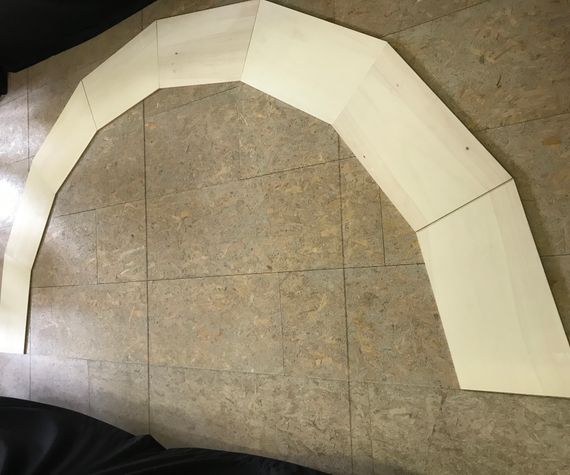
The plywood base is glued and fixed onto the wooden blocks. We make sure that the seam of 2 pieces of plywood is exactly on a wooden block. We first lay them on top of each other and then saw them both through together. The plywood board is glued to the transition between 2 modules with TEC-7 because the openings in the side walls of the module boxes are not exactly at the right height. Therefore, it was important that the plywood over the module boxes forms 1 whole, which will then be cut through once fixed.
On this plywood now comes a new of plywood and then a layer of styrodur (2 cm)in which we can form the shape of the trackbed. Until the rails are shottered they will be held in place by screwing them (between the sleepers) in the double plywood layer.
Januari - February 2021
There was little progress on the layout. The track is painted in a basic brownish colour and glued to the styrodur with grey acrylic caulk. Acces openings were made in the boxes, in the rear panel to connect the track wires , in the bottom panel to have acces to the bolt in the front that holds the boxes together. The rear bolt is accesible through the opening in the back panel.
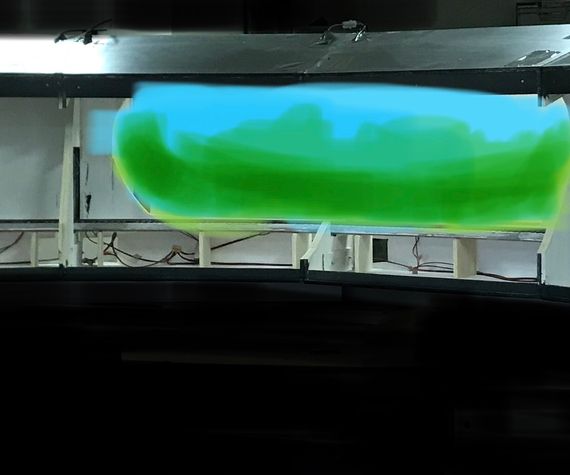
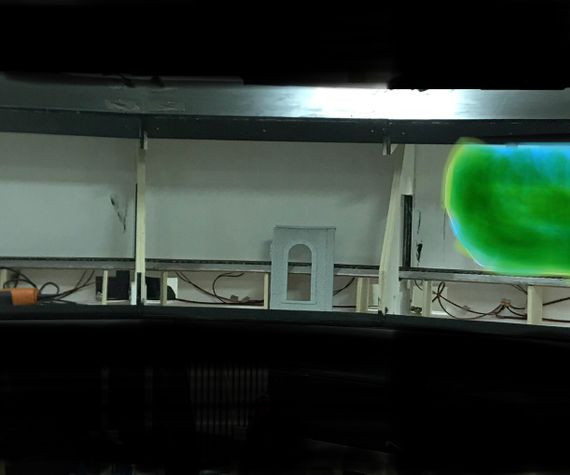
On three different areas, landscape boxes will be placed against the back panel. Therefore openings are made in those corresponding panels.
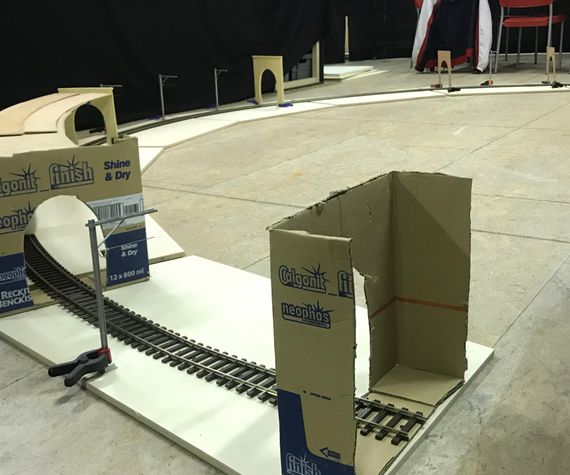
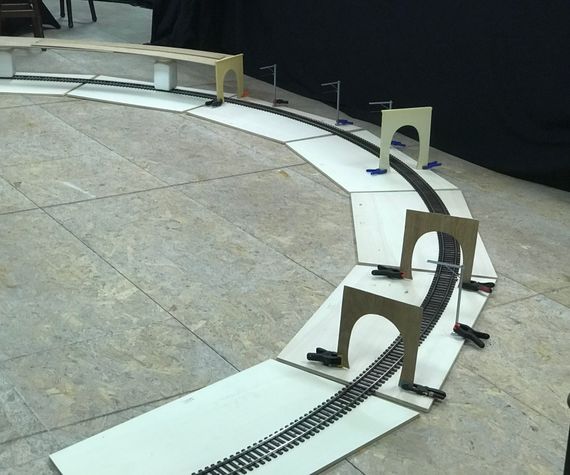
Now we need to make the gallery walls and the tunnel entrances.
